From zero to CHERIoT in two minutes with Sonata
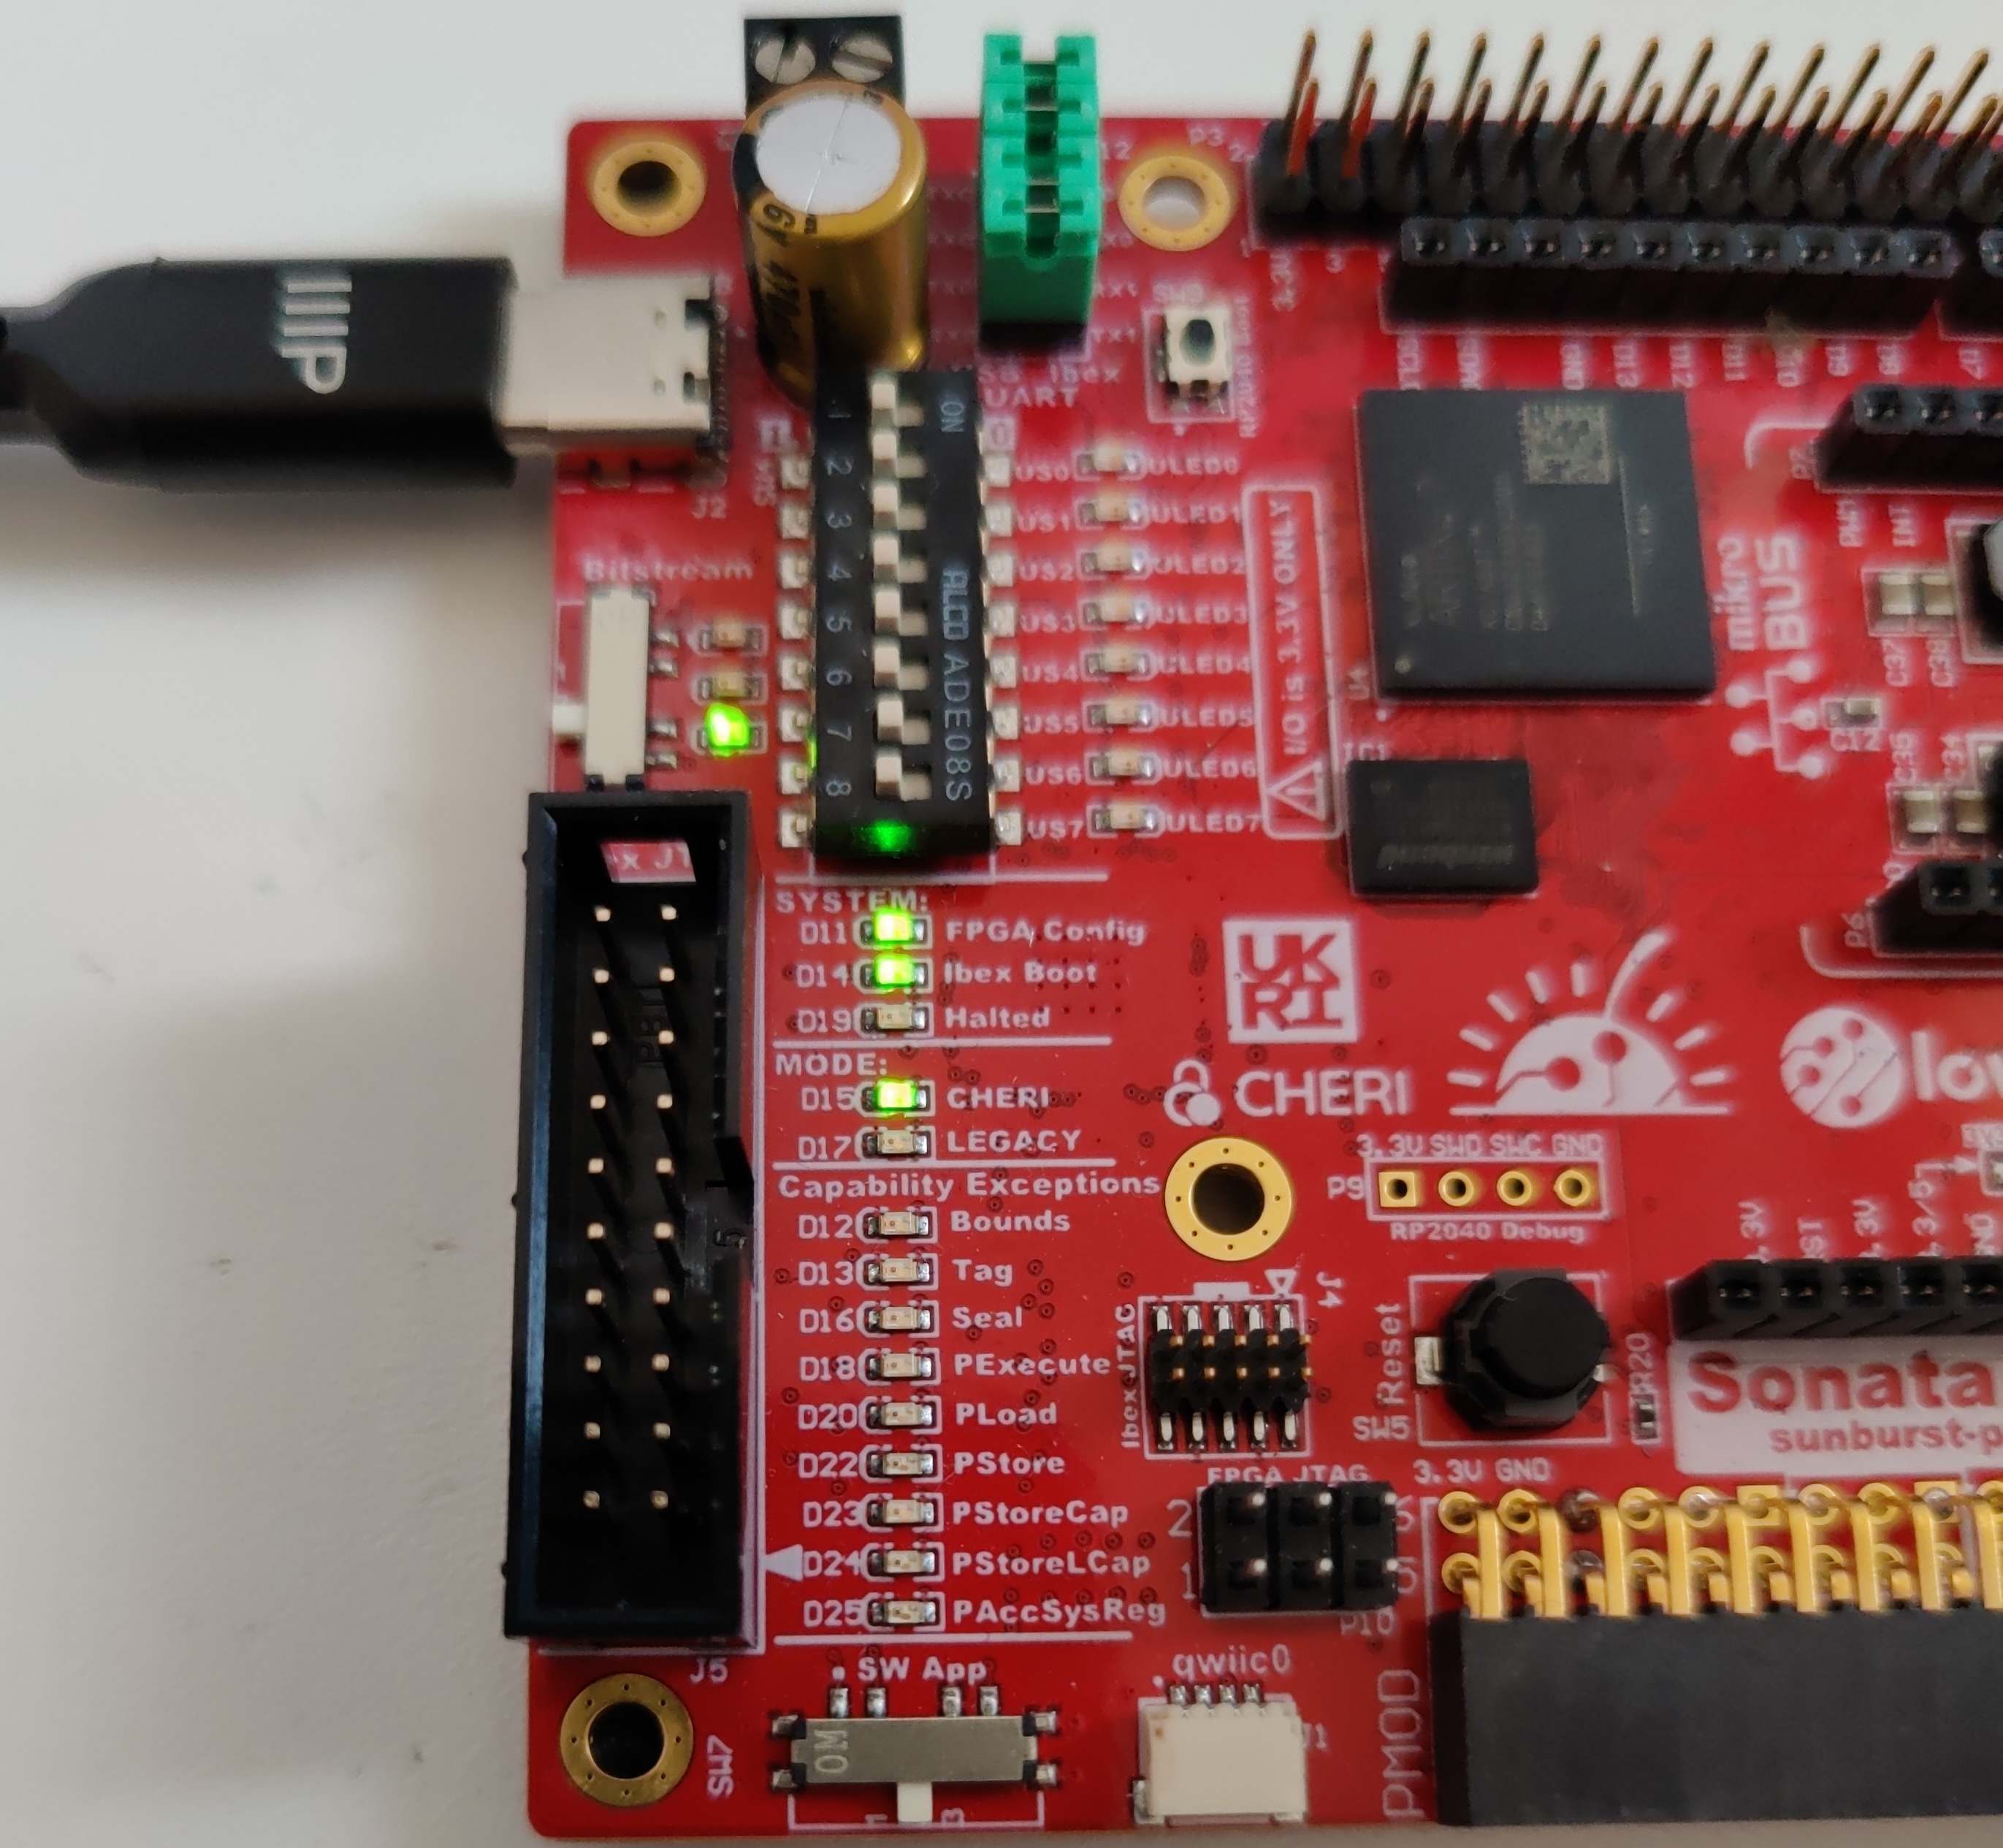
A few weeks ago, lowRISC shipped the first of their Sonata boards and ran a hackathon for people to get started with them. This event was a great success and showed how easy it is to get working with a CHERIoT system. One of the attendees commented that he spent more time getting the Sonata board out of the box than it took him to complete the first compartmentalisation exercise (protect a secret by moving the code that accessed it into a separate compartment), even with no prior CHERIoT experience.
The Sonata board is the first FPGA prototyping board designed specifically to run a CHERIoT core, specifically the CHERIoT Ibex and a set of associated peripherals. It joins the Arty A7 as a supported FPGA target for CHERIoT and provides a much richer set of peripherals.
Sonata, with the v0.2 or later firmware makes it very easy to load firmware.
When you connect it to a host computer, it exposes a filesystem as a USB mass storage device.
If you copy a firmware image there (in UF2 format), it is loaded automatically.
This is integrated into the xmake run command for the Sonata board config, so as long as the SONATA device is mounted in one of the common locations, it just works.
If your OS mounts it in a different place, please raise a PR against this to add your location.
Two minutes to a rich editor and running code
This means that you can go from nothing to a working development environment for Sonata in about two minutes. This video shows how do do so in Visual Studio Code:
If you clone the CHERIoT-RTOS repository and open it in VS Code, you will be prompted to open it in the dev container. This container is built automatically in CI and published to our container registry. It contains all of the tooling required for CHERIoT development, including some simulation environments. If you open the RTOS repository in a GitHub Codespace, you can start working in this environment immediately.
To be able to load firmware onto a Sonata board from the container, you need to expose the SONATA filesystem into the container.
This requires you to add a section like this to the devcontainer.json file:
  "mounts": [
    "source=/Volumes/SONATA,target=/mnt/SONATA,type=bind"
  ]
Unfortunately, we can’t do that automatically because the source needs to be the mount point on your host.
On Windows, for example, this may be something like E:, on Linux it’s probably somewhere under /run/media or /mnt.
VS Code will automatically install and configure extensions to make working with CHERIoT easy. For example, you’ll notice that autocomplete and code cross-referencing work out of the box, including understanding the CHERIoT-specific C/C++ attributes.
You can now build any of the examples, exercises, or the test suite by running the following commands in the project’s directory:
$ xmake config --sdk=/cheriot-tools --board=sonata
$ xmake
$ xmake run
If you didn’t add the SONATA mount point, or are in GitHub Codespaces where you can’t, don’t worry.
The xmake run output will look something like this:

If you’re running locally, just copy that file to your SONATA drive.
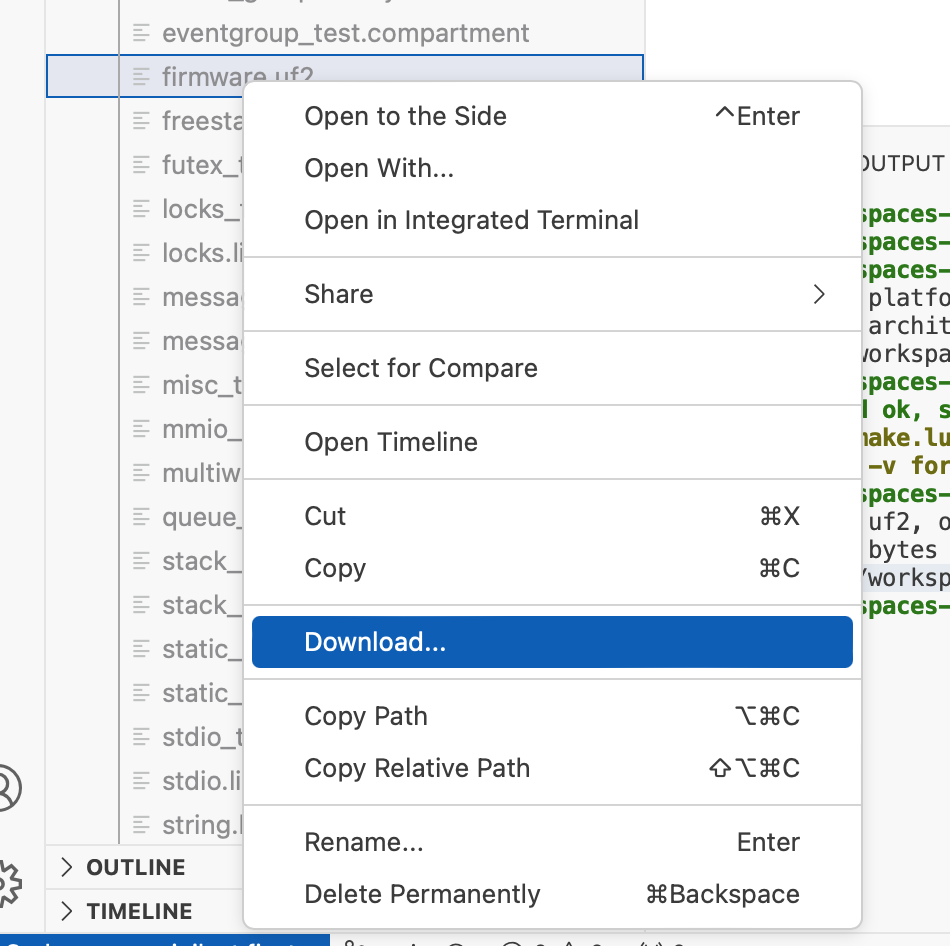
In a GitHub Codespace, you can just find it in the file browser on the left and then right click and download it:

You can download it directly to the SONATA mount and the result will run.
This lets you develop for Sonata with no locally installed software.
For users of other editors
If, like me, you prefer to use vim, you’re not left out!
The dev container does not include vim, but it does include a .vimrc that configures code completion with ALE.
If you clone the repo and run the container:
$ git clone --recurse https://github.com/Microsoft/cheriot-rtos
$ docker run -it --rm --mount source=$(pwd)/cheriot-rtos,target=/home/cheriot/cheriot-rtos,type=bind --mount source=/Volumes/SONATA/,target=/mnt/SONATA,type=bind ghcr.io/cheriot-platform/devcontainer:latest /bin/bash
You can install vim and then run :PlugInstall to install the plugin configured to talk to the language-server protocol daemon that understands our extensions.
When launched from VS Code, the editor automatically generates compile_commands.json for each project.
You can do this yourself with:
$ xmake project -k compile_commands .
Note that this must be done after you configure the project.
Patches to the dev container to support other editors are very welcome!
The language-server implementation is clangd and is installed in /cheriot-tools/bin/clangd.
You should just need to configure it as the default for C/C++ sources.
Why are the LEDs flashing red in the video?
In the above video, you may notice that some red LEDs on the Sonata board start flashing when the test suite runs. These are the LEDs that report CHERI exceptions. The test suite runs a number of checks that illegal operations correctly generate CHERI exceptions and so these blink quite a lot.

These LEDs light up whenever a CHERI exception is raised. Unfortunately, currently, they go off when the exception handler finishes, which is typically around a hundred cycles or so (after which, the compartment’s error handler runs or the switcher unwinds to the caller). This means that you have to watch carefully to see them. A future version of the Sonata bitstream is expected to keep them lit for a bit longer.
The drivers for various Sonata peripherals are gradually being added. The first Sonata PR came with UART drivers. The GPIO drivers for the LEDs and the joystick were merged last month, as was the SPI driver. The I2C driver is currently in review. The Ethernet and LCD display are connected via SPI.
The first 100 Sonata boards went to participants in the Digital Security by Design programme, but don’t worry if you weren’t lucky enough to get one: They’ll be on sale soon!